Setup
Install MarkLogic
Download and install the latest version of MarkLogic from this page: http://developer.marklogic.com/products. Once you've installed and started up MarkLogic, go to the browser-based administrative interface (at http://localhost:8001/), where you'll be walked through the process of getting a Developer License, as well as setting up an admin user. (This tutorial assumes you'll be running MarkLogic on your local machine; if that's not the case, just substitute your server name whenever you see "localhost" in this tutorial.)
If you need more detailed instructions on installing and running MarkLogic, see Installing MarkLogic Server.
Set up the tutorial project
Next, download the tutorial project: java-api-tutorial.zip. Unzip the file into a directory of your choice on your machine.
Although you're free to use whatever IDE you prefer, the tutorial files have been packaged as a Maven project and can be opened in Eclipse using the m2eclipse plugin. If you'd like to not have to worry about CLASSPATHs and dependencies to work through this tutorial, then I encourage you to follow the additional steps below. (If you'd rather wire everything up for yourself, you can download the Java API distribution directly and skip the rest of this section.)
- Download and install the latest stable release of Eclipse (I used the "Indigo" and "Juno" versions while writing this tutorial.)
- Start up Eclipse and select the "Help"->"Install New Software…" menu.
- In the "Work with:" field, paste the following URL:
http://download.eclipse.org/technology/m2e/releases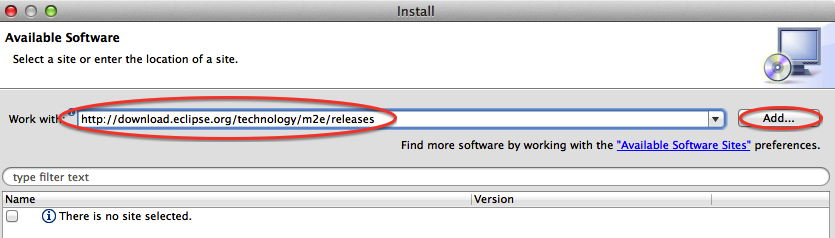
- Click the "Add…" button.
- In the next dialog, give the new repository a name, e.g., "m2e", and hit OK:
![Machine generated alternative text: 0 C) O Add Repository Name: ______________________ J ( Local... ] Location: http://download,eclipse.org/technology/m2e/releases ‘ (__Archive.., J Cancel OK](/media/marklogic-for-java-developers_files/screenshot2.jpg)
- Once it appears, check the checkbox next to "Maven Integration for Eclipse":
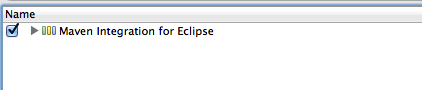
- Click the "Next" button and "Next" again to confirm installation.
- Review and accept the license in order to begin the installation. Once the installation is complete, you'll be prompted to restart Eclipse.
- After Eclipse has restarted, select File->Import…
- In the Import dialog, select "Existing Maven Projects" under the "Maven" folder, and click the Next button.
![Machine generated alternative text: 0 0 0 Import Select Import Existing Maven Projects [ì’Iá 9 Select an import source: t. t 1 tut tt LEI’ Install Java EE V Maven Check out Maven Projects from SCM Lng I!ivii Projects ______ ________________________ flInstaII or deploy an artifact to a Maven repository Materialize Maven Projects from SCM Plug—in Development Remote Systems <Back Next J ( Cancel ] Finish](/media/marklogic-for-java-developers_files/screenshot4.jpg)
- On the next screen, click "Browse…" and browse to the location where you unzipped the tutorial project, selecting "java-api-tutorial" as the root directory.
- Ensure that the checkbox for the project is checked and click the "Finish" button.
The rest of this section will walk you through these steps.
Create a database
We'll use the MarkLogic REST API to create the database. Save this JSON content in a file called tutorial.json:
Now tell MarkLogic to apply this configuration, which will create an application server, content database, and modules database. (Adjust the username and password as needed.)
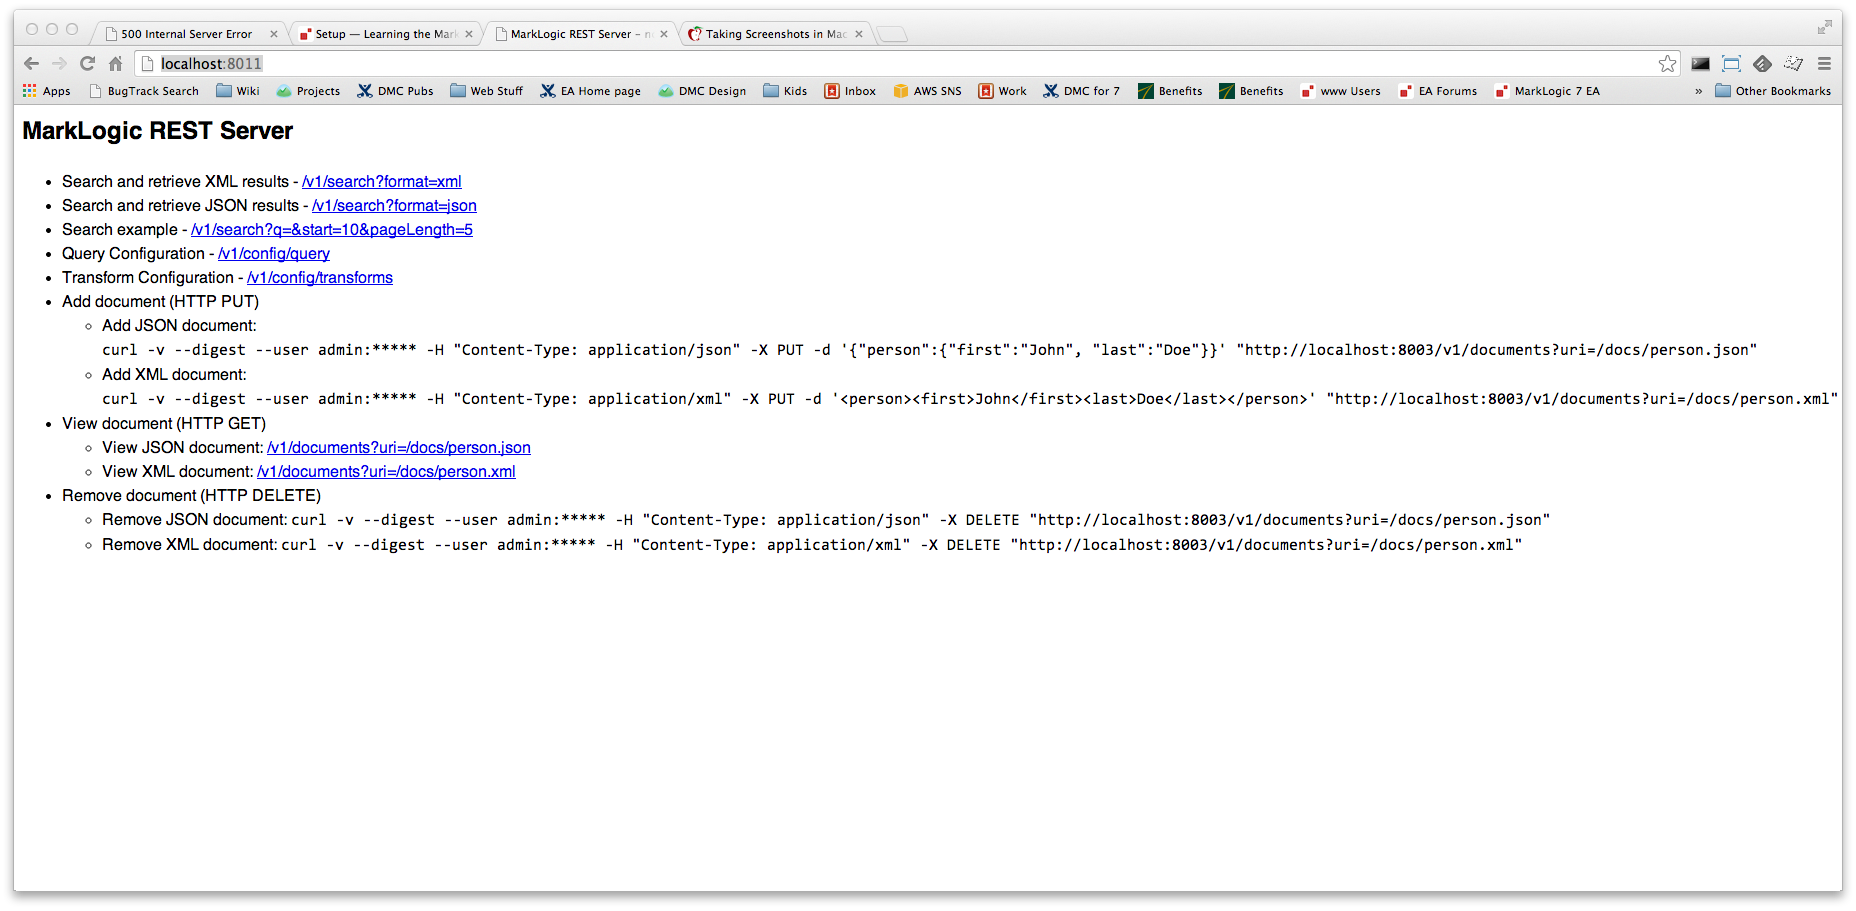
By creating a REST API instance in this way, MarkLogic has created and configured the underlying components for you (specifically, an HTTP app server and an associated modules database). To prove that the REST API instance is running, navigate in your browser to http://localhost:8011/. You should see a page that looks something like this:
Create REST users
MarkLogic has a powerful and flexible security system. Before you can run the Java examples, you'll first need to create a user with the appropriate execute privileges. You of course could use the "admin" user (which has no security restrictions), but as a best practice, we're going to create two users:
- one with the "rest-writer" role, and
- one with the "rest-admin" role.
(There is also a "rest-reader" role available, which provides read-only access to the REST API, but we won't be using that.)
Before we create the users, let's go back into Eclipse and open the Config.properties file:
![Machine generated alternative text: Package Exporer V java-api-tutoriaI Q src/main/java V Ç, src/mainfresources Ç3data I E] Config.properties I](/media/marklogic-for-java-developers_files/screenshot15.jpg)
Take a look at its contents:
This is the default configuration file that comes with the tutorial project. You can modify it as necessary (for example, if MarkLogic is running on a different machine), but the rest of this tutorial will assume the REST API instance is located at http://localhost:8011/. Now we just need to create the "rest-writer" and "rest-admin" users referenced in the above properties file.
MarkLogic's Management API lets you manage roles and users. You can see your current list of users by pointing a browser to http://localhost:8002/manage/v2/users?format=html.
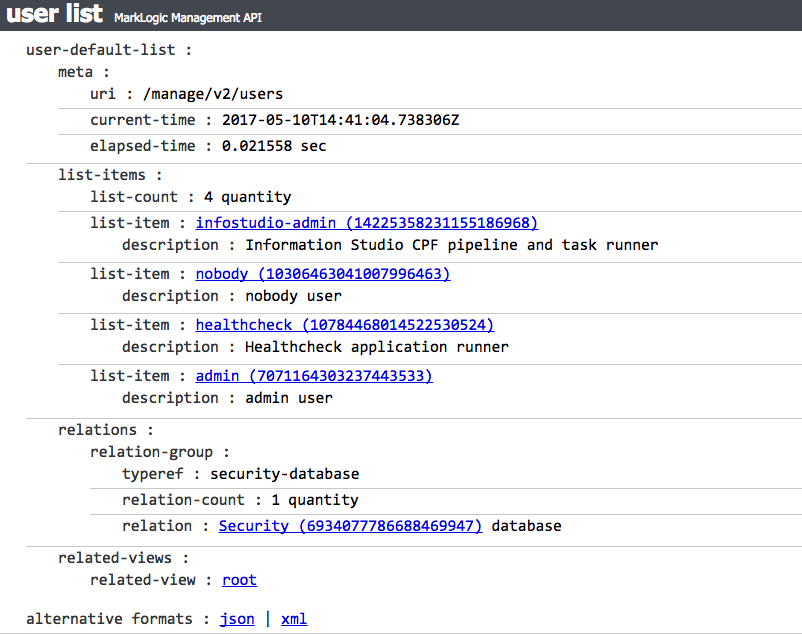
My instance of MarkLogic has four users defined: infostudio-admin, nobody, healthcheck, and admin. These users are all created when MarkLogic does its initial configuration.
To create the users we need, we'll use the /manage/v2/users endpoint. (Naturally, you would typically use a better password; this is just for tutorial purposes.) Save this information as rest-writer.json:
Send this configuration to MarkLogic with a curl command:
Repeat the same process for the "rest-admin" user (also with password "x"). Only this time, specify the "rest-admin" role instead:
If you refresh the http://localhost:8002/manage/v2/users?format=html browser page, you should now see both users.
Now we've got everything set up on the server side, so let's start interacting with MarkLogic via Java.
Learning the MarkLogic Java API
Java API basics